Whitelabel
Custom Plans
Hello there, Nevrie here! I'm the co-founder of Answerly and I'm super excited to guide you through creating Custom Plans! 😊
To start with, you'll want to navigate to our plans page. Here's a shortcut for you: Plans. Not sure how to get there? Don't worry! This snapshot will provide a little guidance:
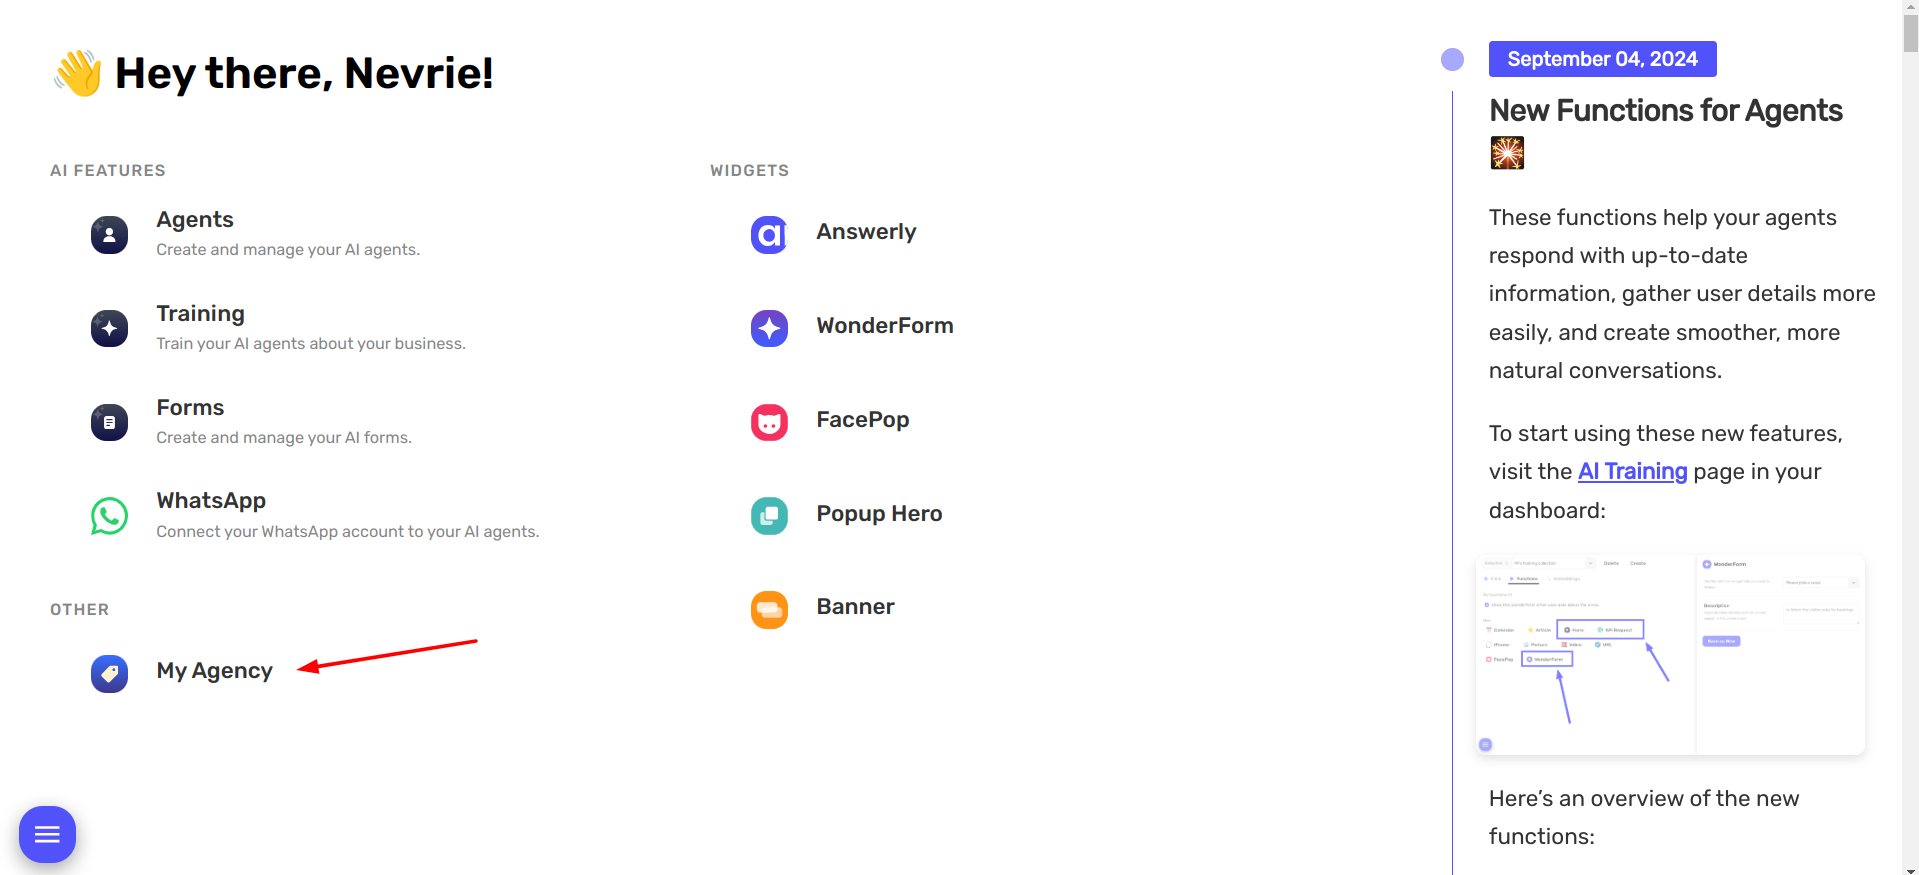
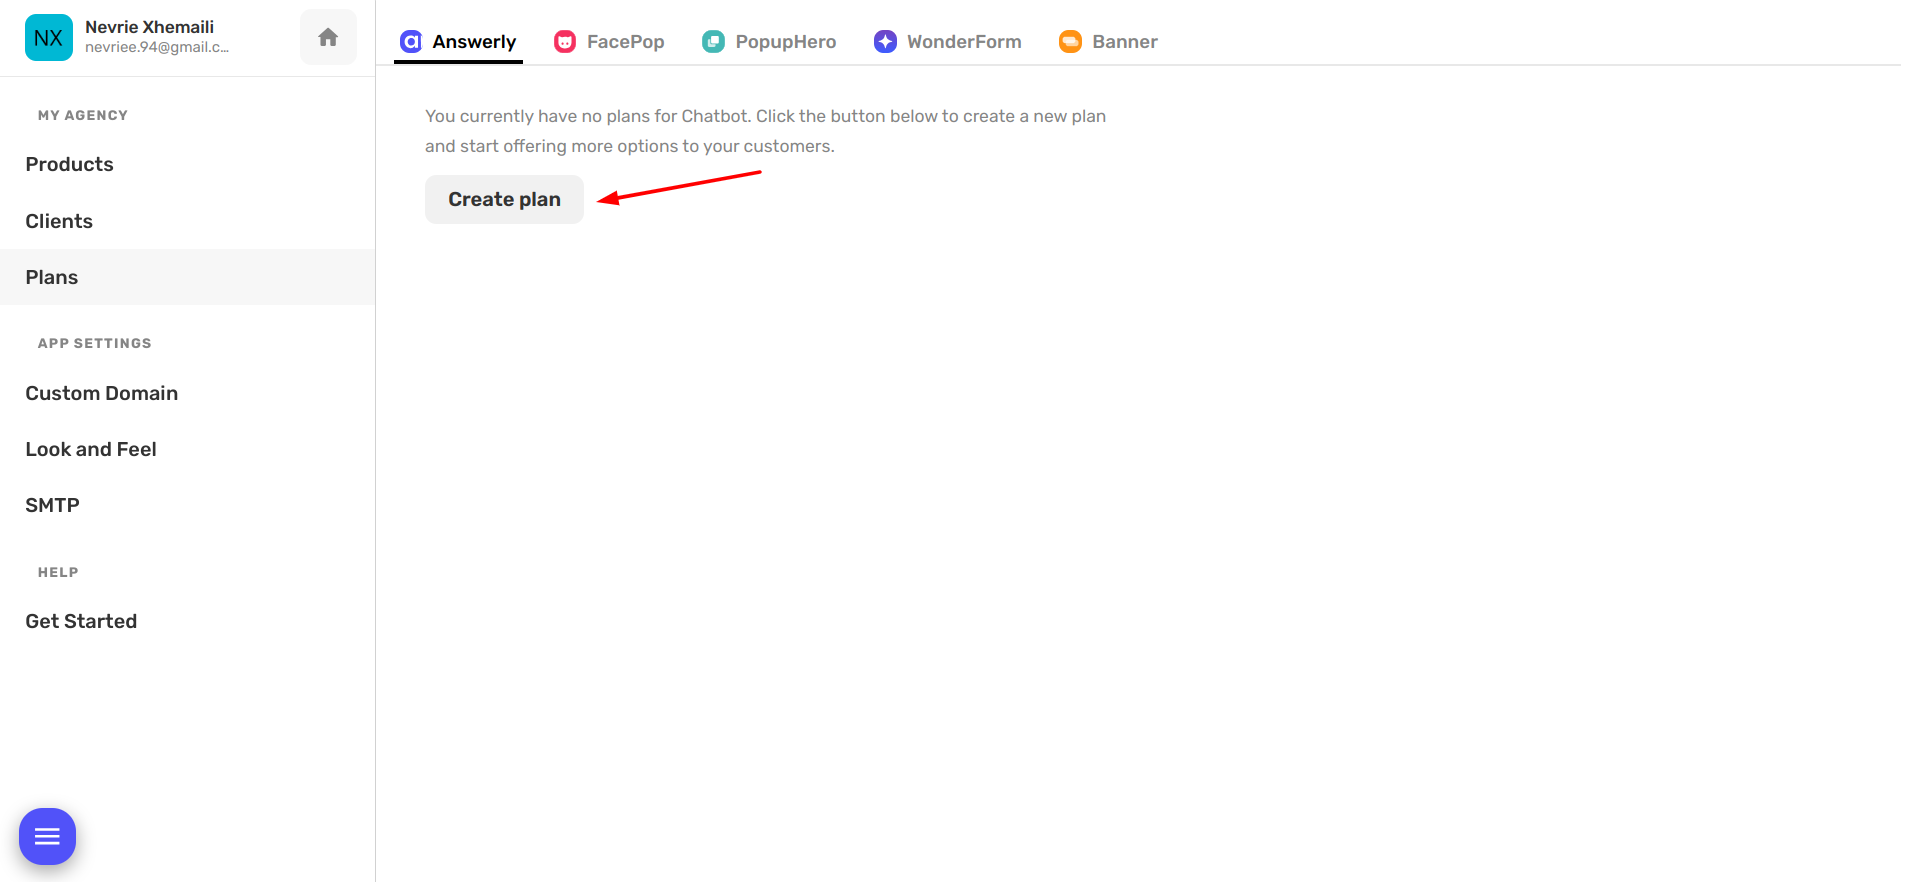
Now, let's get creative! Simply click on the Create plan button to start customizing your plan.
After you click that button, you'll see a new modal pop up. This is your canvas for creating the perfect plan for your customers!
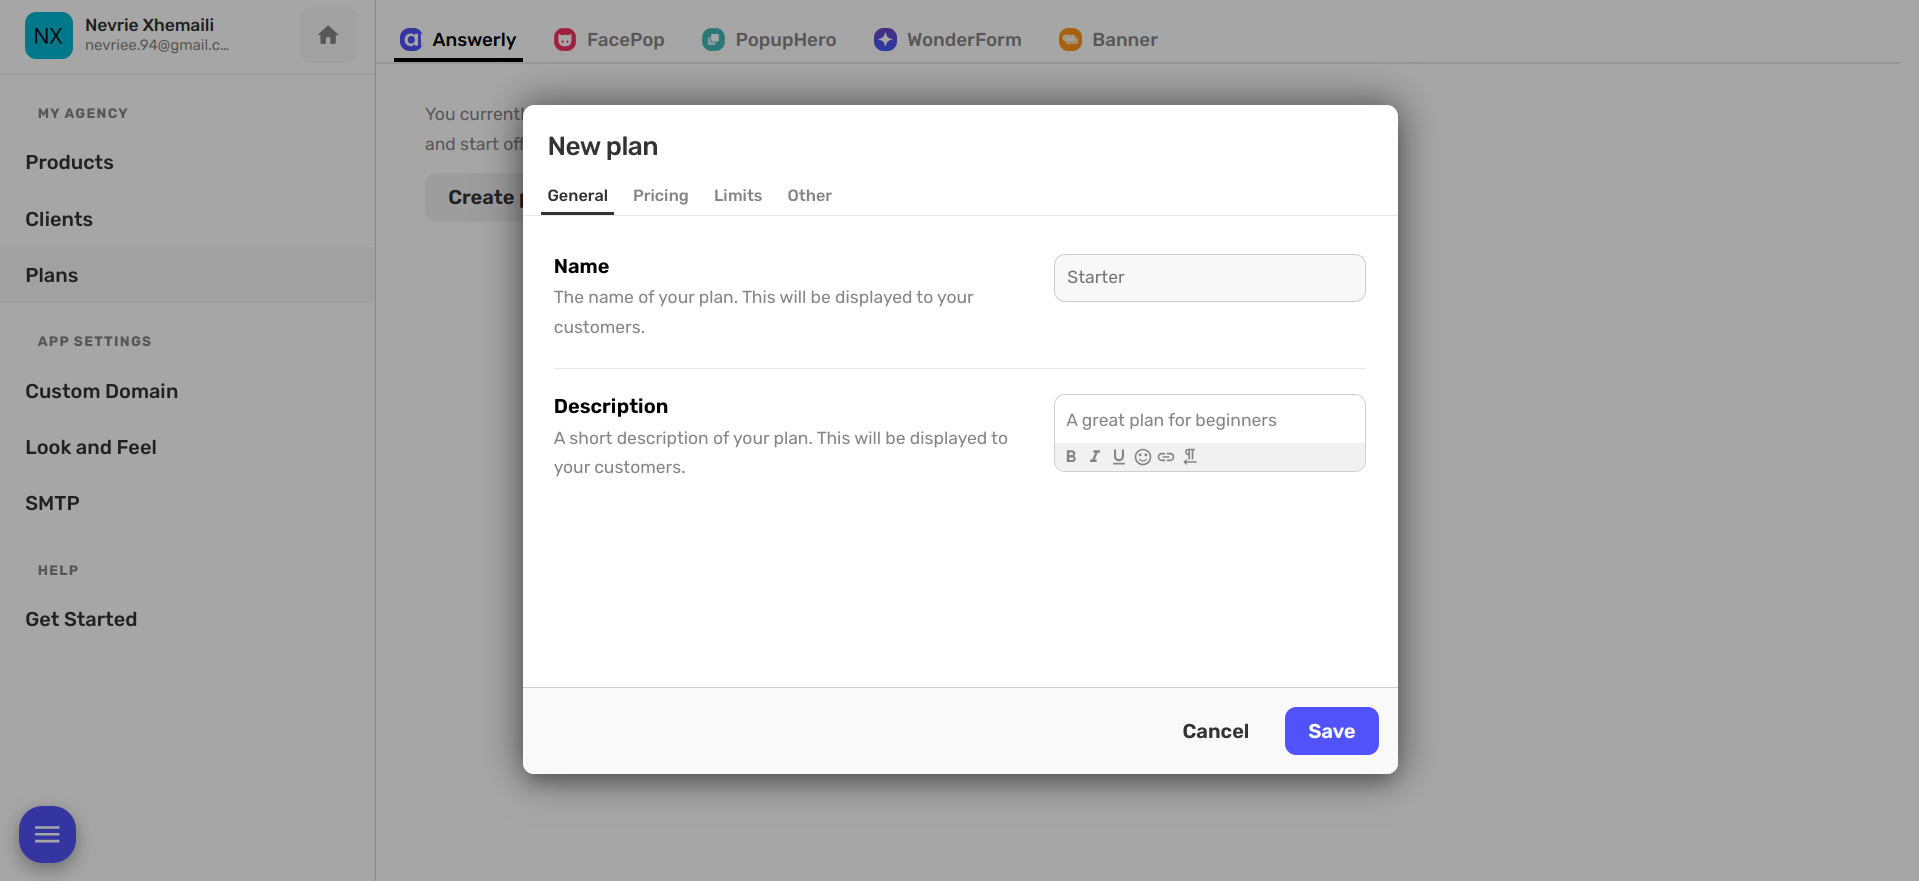
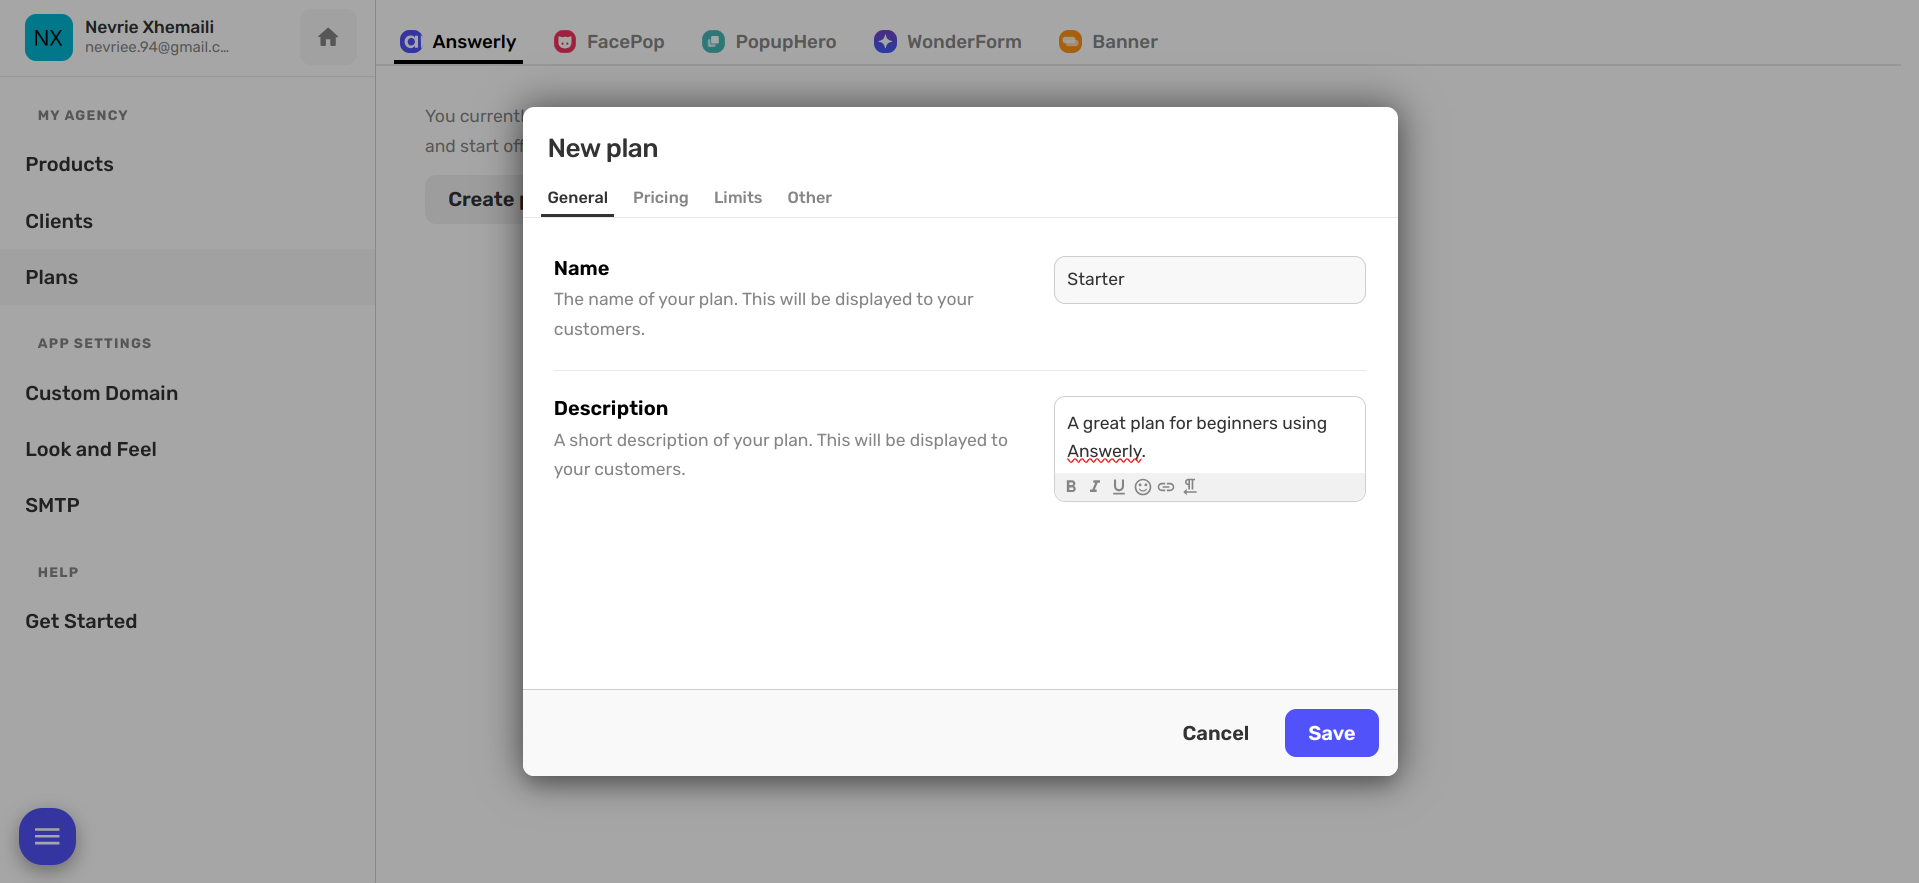
You'll first be asked for some basic information about your plan - kind of like its 'identity'! This includes its name and a brief description.
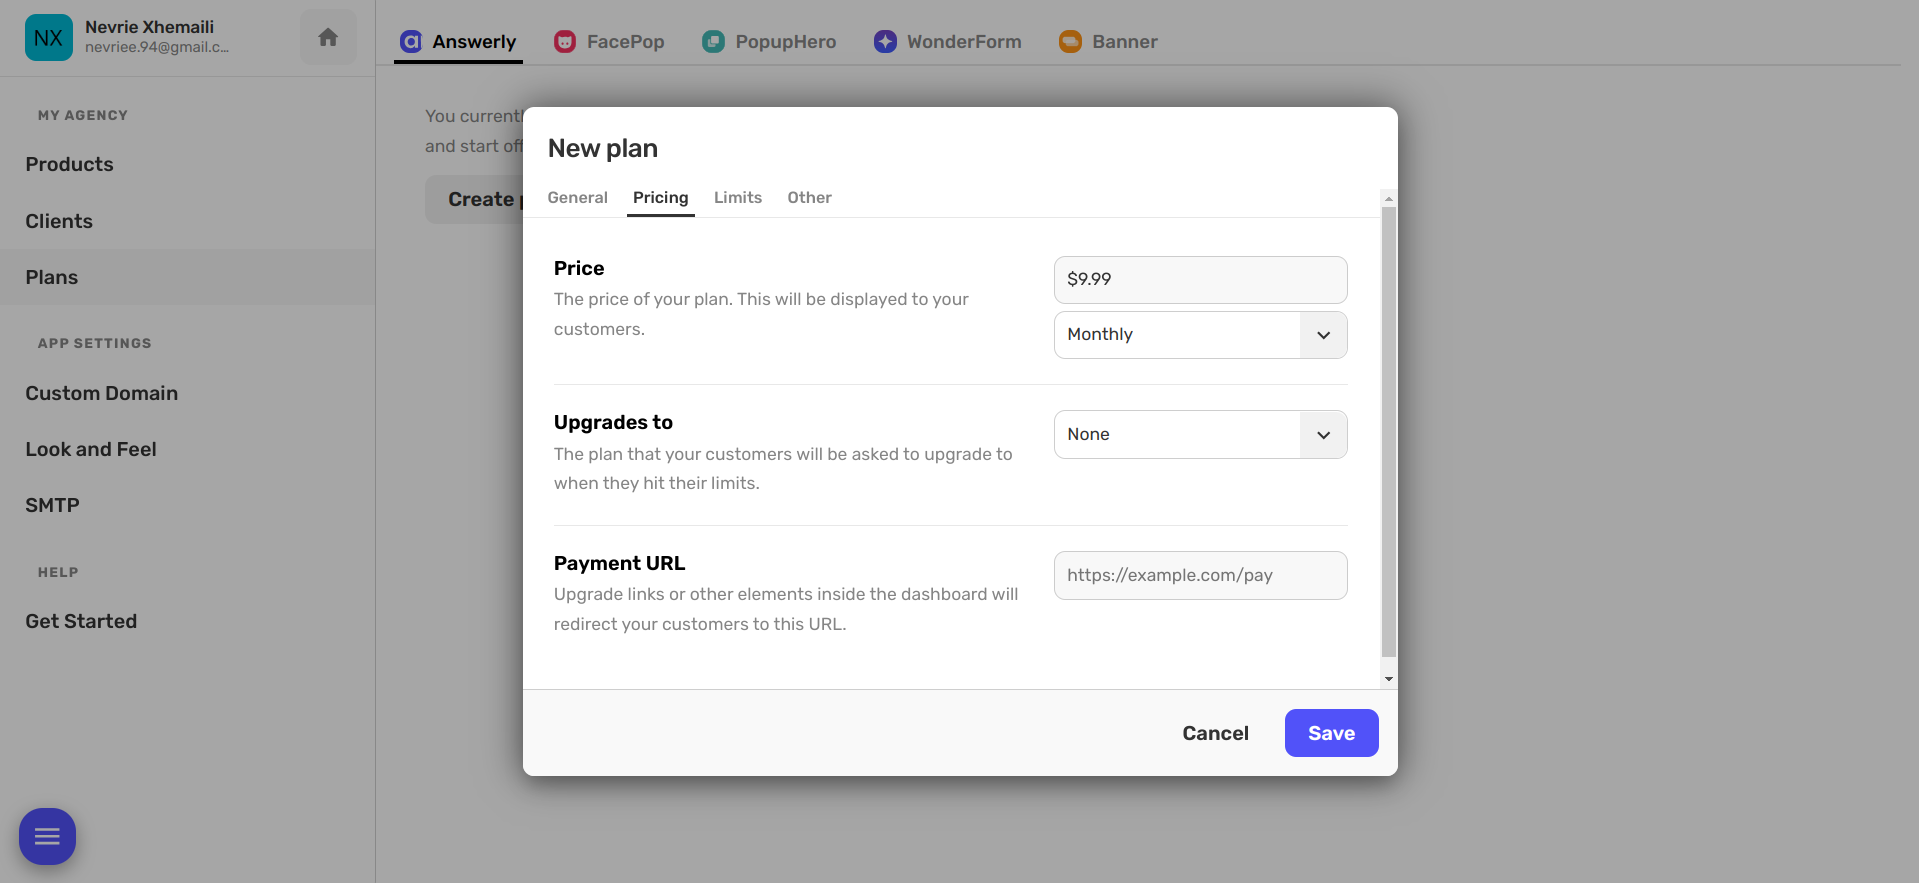
Once you've set the basics, it's time to talk about pricing! Here, you can set whether the plan is monthly or yearly, specify a plan that it can upgrade to, and provide the payment link.
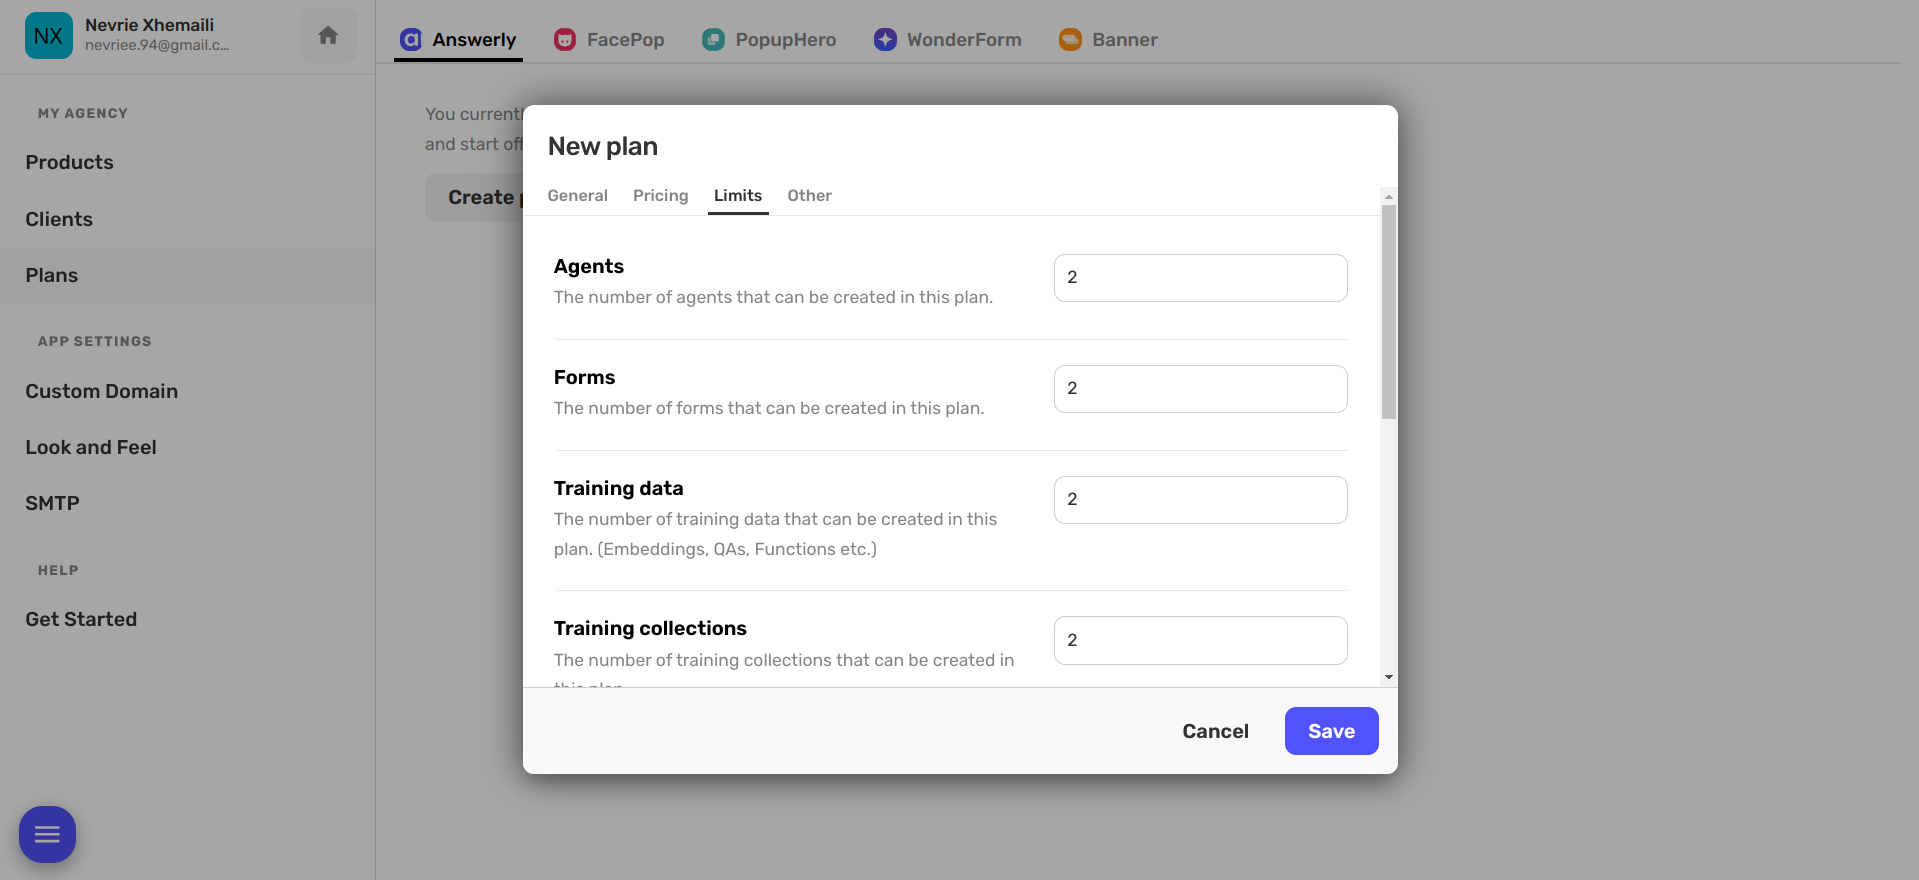
All done with pricing? Perfect! The next stage is to set the limits of your plan. This includes specifying how many agents and how many widgets each plan includes.
Finally, you'll finalize your plan in the "Other" tab.
And...voila! Your Plan ID is auto-generated here! This is like your plan's unique "fingerprint". And guess what? You can use this ID with the API to activate or deactivate the plan for your customers!
A hot tip for you: it's generally best to create the higher-priced plans first. This makes it easier when creating plans further down the line.
Once your plan has been made, you'll be able to see it in the Clients table and can start assigning it to each client.
And there you have it, your very own custom plan! 🥳
Just a few details you should know:
- All users now have access to the subscription page at: /workspace/subscriptions
- If you've set an Upgrade URL in 'My agency -> Plans -> Edit plan -> Upgrade URL', then all upgrade elements in the dashboard, including the subscription page, will point you to the upgrade URL.
- However, if you haven't provided an upgrade URL, these elements will either be hidden or unclickable, stating that access is not allowed.
- Within the same edit modal, there's also a cancel URL field. This will be used for cancel buttons located on the subscription page.
- If you're using upgrade and cancel links, you can also automate the entire process using our API documentation at api.answerly.io.
Remember, the Answerly team and I are always here for you, should you need any help.
Happy planning!

