Agent
Collecting Data

Hey there! If you're looking to gather information from your visitors, or capture leads with your AI Agent, you've come to the right place!
Collecting data is a breeze with our platform, and I'll walk you through each step. Let's get started. 😊
Step 1: Enable Data Collection
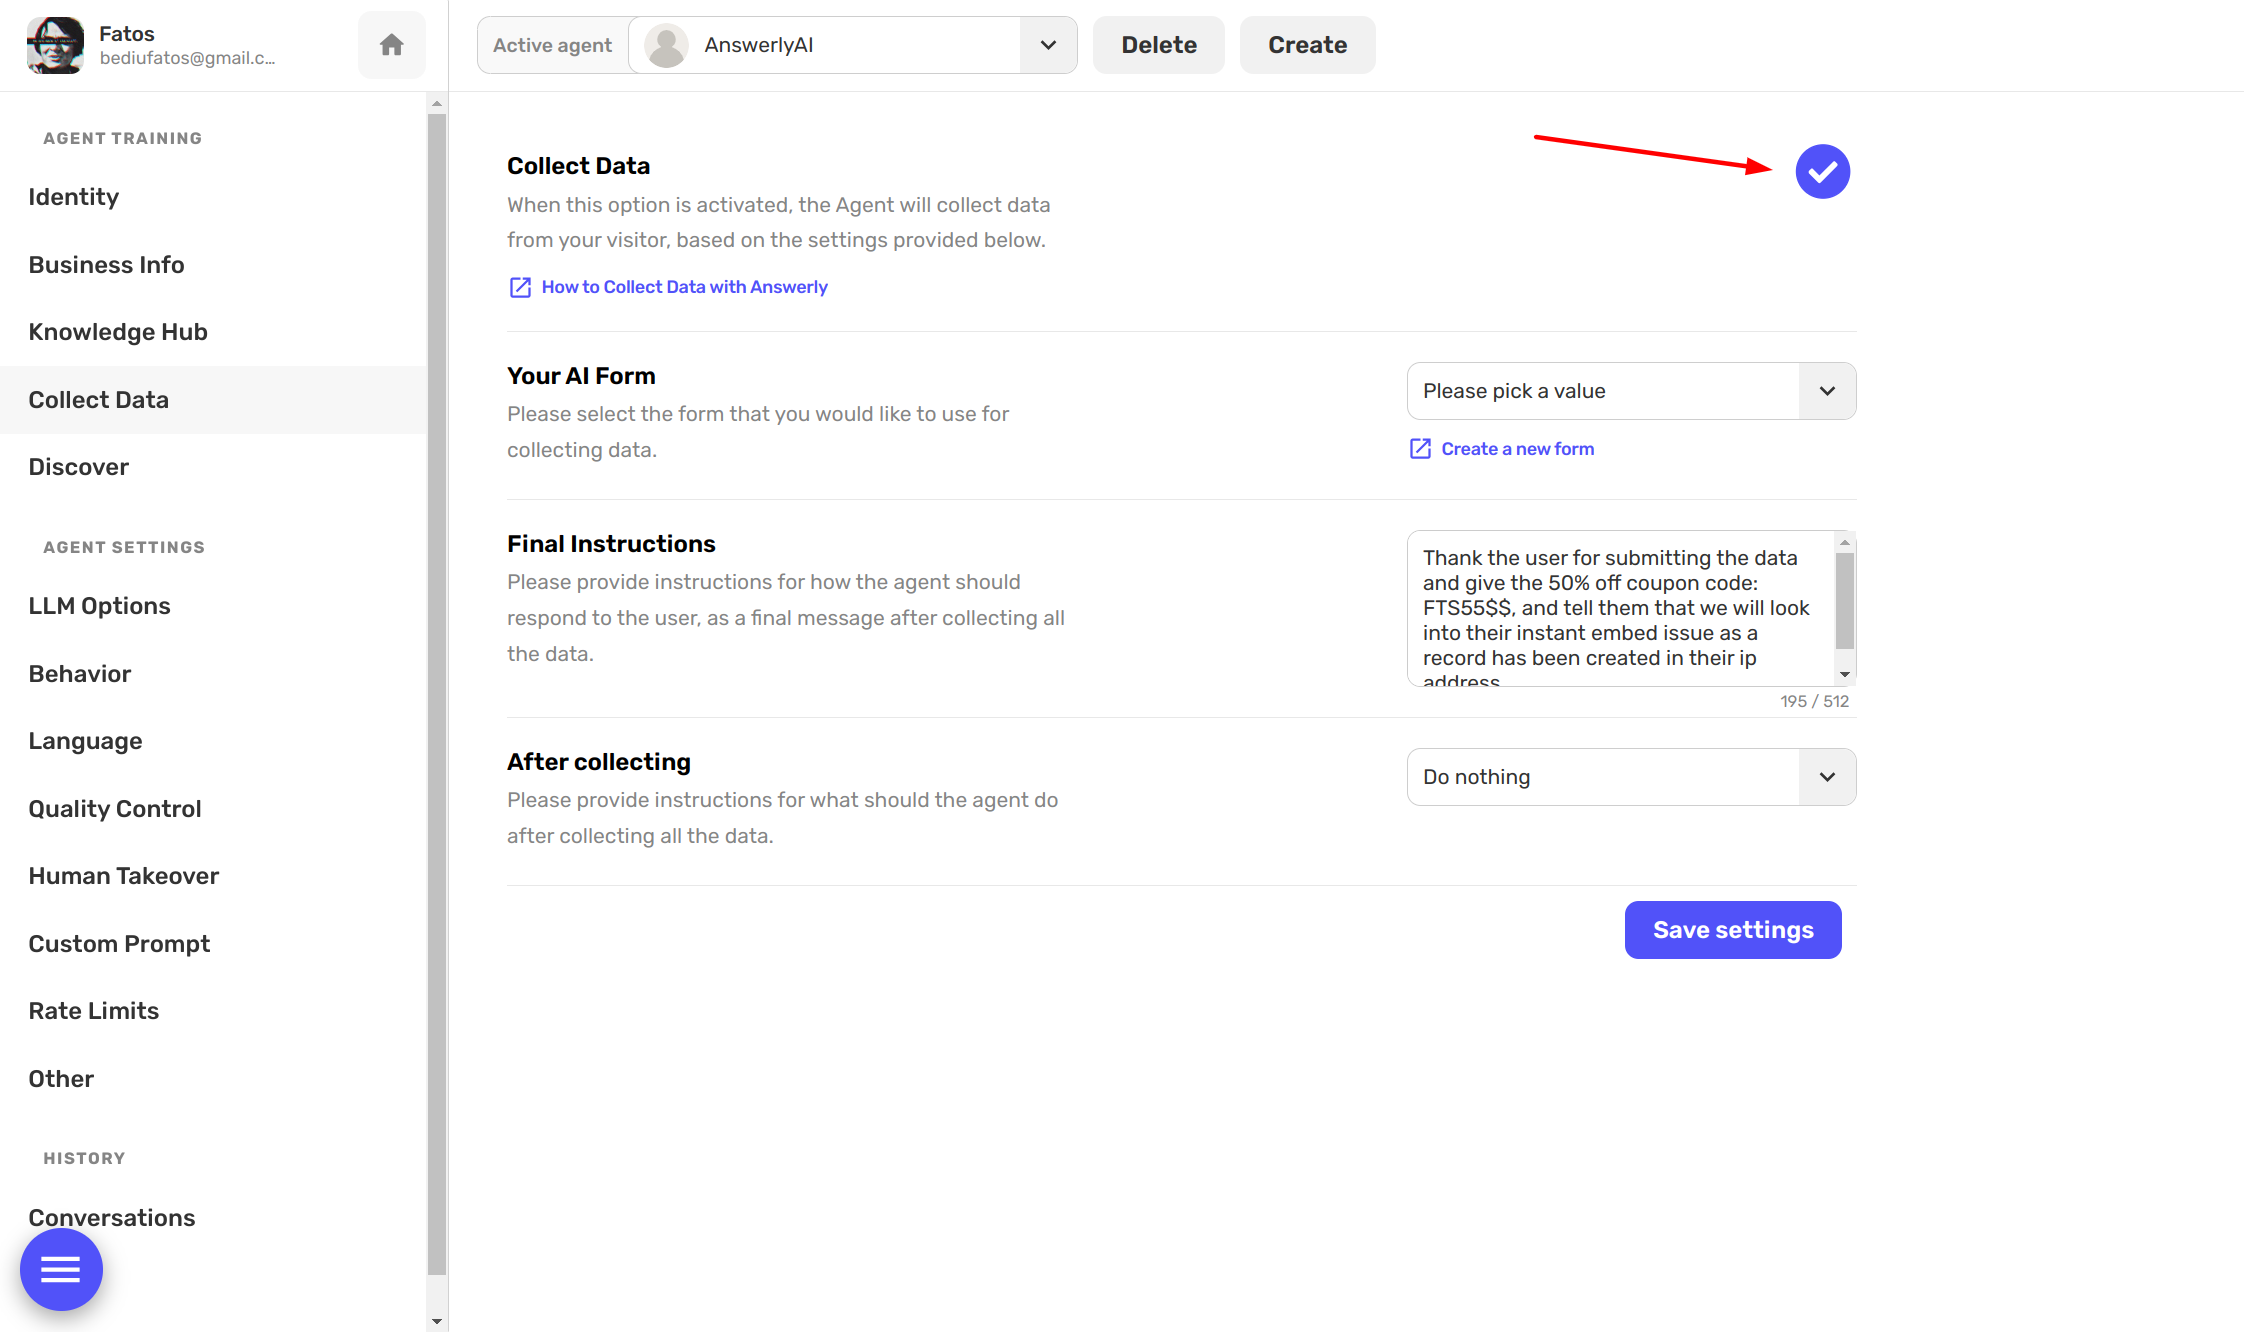
First things first, go to your agent settings by navigating to Collect Data.
Look for the "Collect Data" section and make sure to check the "Collect Data" checkbox. This will enable data collection for your agent.
Step 2: Choose your Form
Once you've enabled data collection, you will need to select your form.
All your forms will be listed in the dropdown, and if you haven't created one yet, you can click on 'Create a new form'.

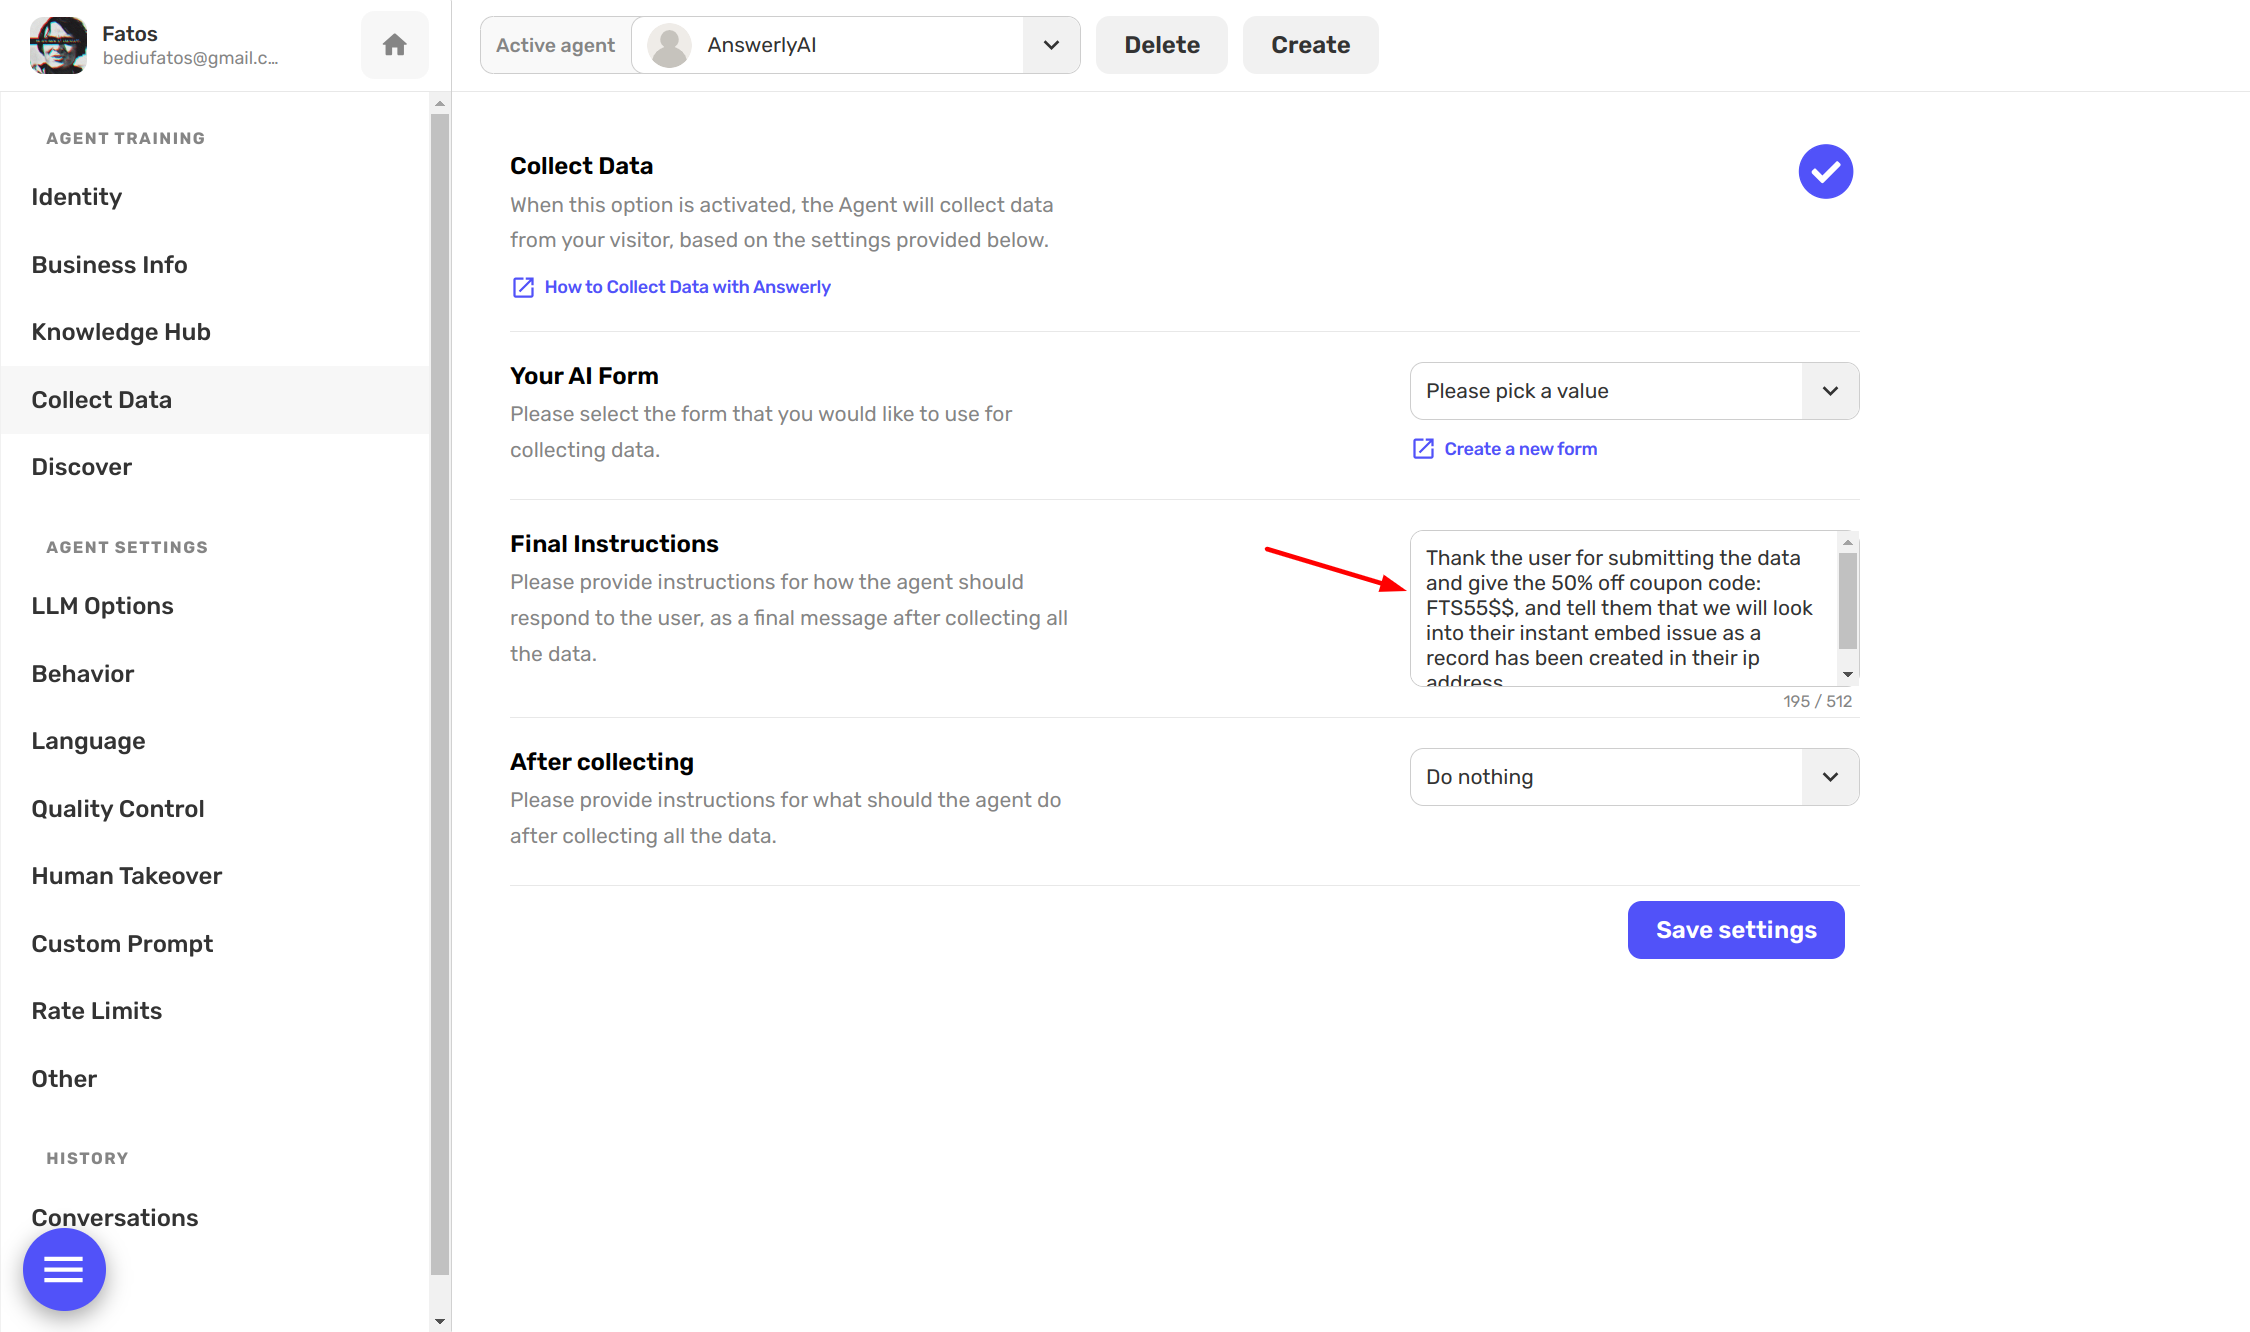
Step 3: Final Instructions (Optional)
Optionally, you can provide final instructions for what the agent should say in their last message. It's handy for wrapping up the conversation or offering a coupon code, like in the example "Suggest 50-OFF as a coupon code."
Step 4: Redirect (Optional)
Lastly, you'll find the After Collecting option. Here you can specify a URL to redirect your users to once the data collection process is complete.

And just like that, you have set up your agent to collect data! If you have any other questions or need a bit of help, don't hesitate to reach out to our support at hi@answerly.io.
Happy data gathering! 📊