Integrations

Embed Your AI Agent in Elementor

Published @ 05/20/2026 by

author Nevrie
Nevrie, Co-Founder @ answerly.io

Adding your Answerly AI agent to your Elementor-powered WordPress website takes less than two minutes.

Elementor includes a dedicated, clean custom code environment right inside its dashboard tools, allowing you to deploy your snippet globally without altering single template files.

Here is the step-by-step guide to embedding your AI agent on Elementor.

1. Copy Your Embed Snippet

Before heading to WordPress, you need to grab your unique widget code from the Answerly dashboard.

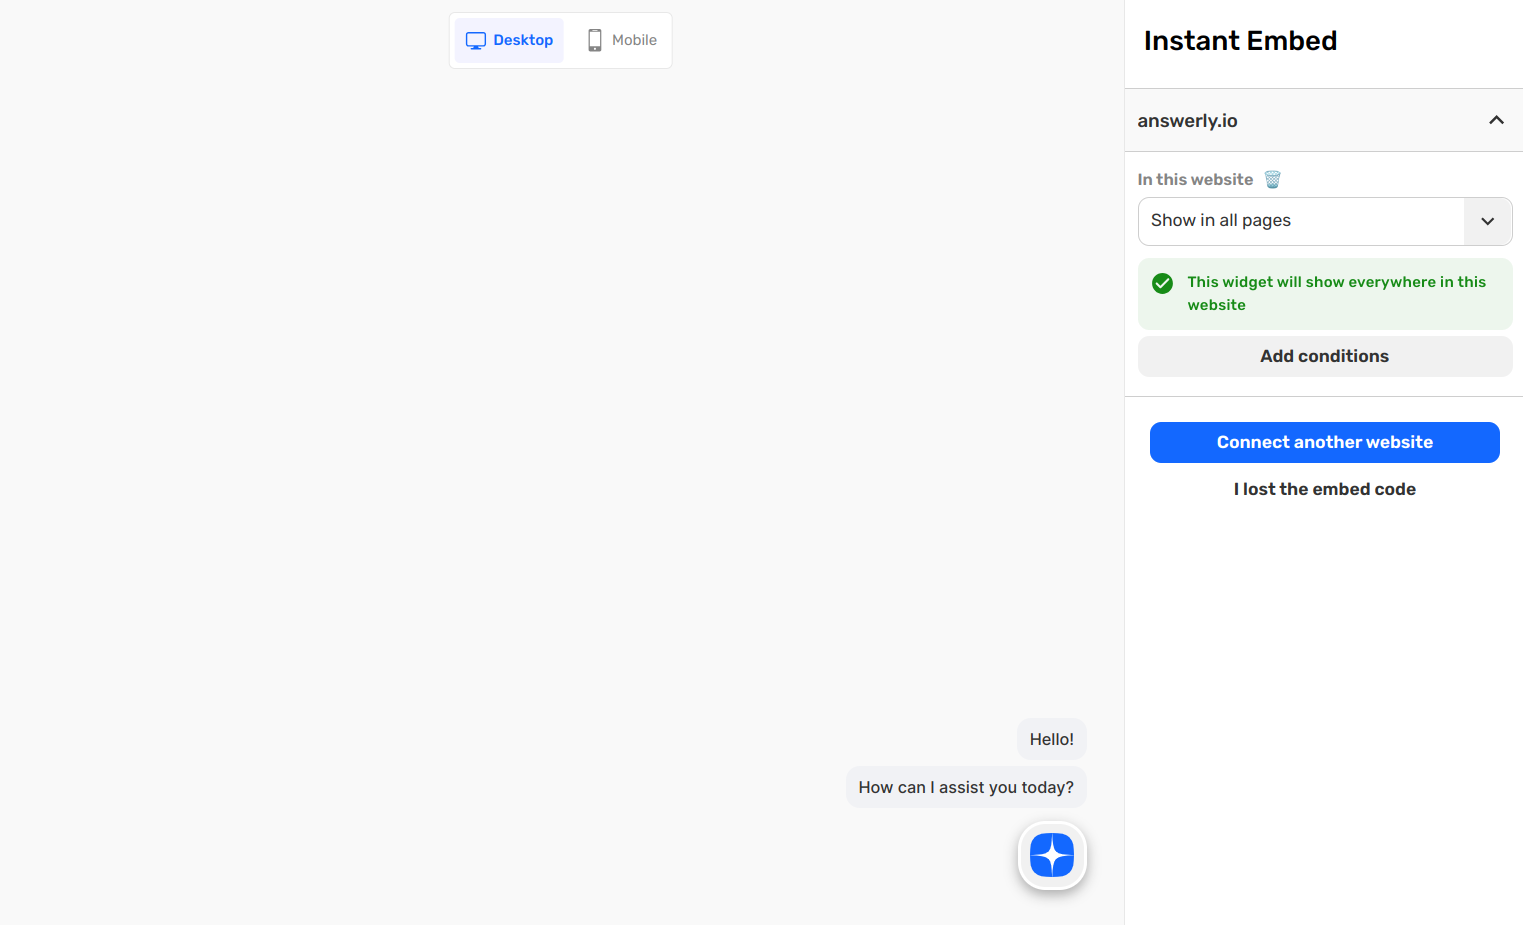
Go to the Instant Embed page, and click on Connect a Website:

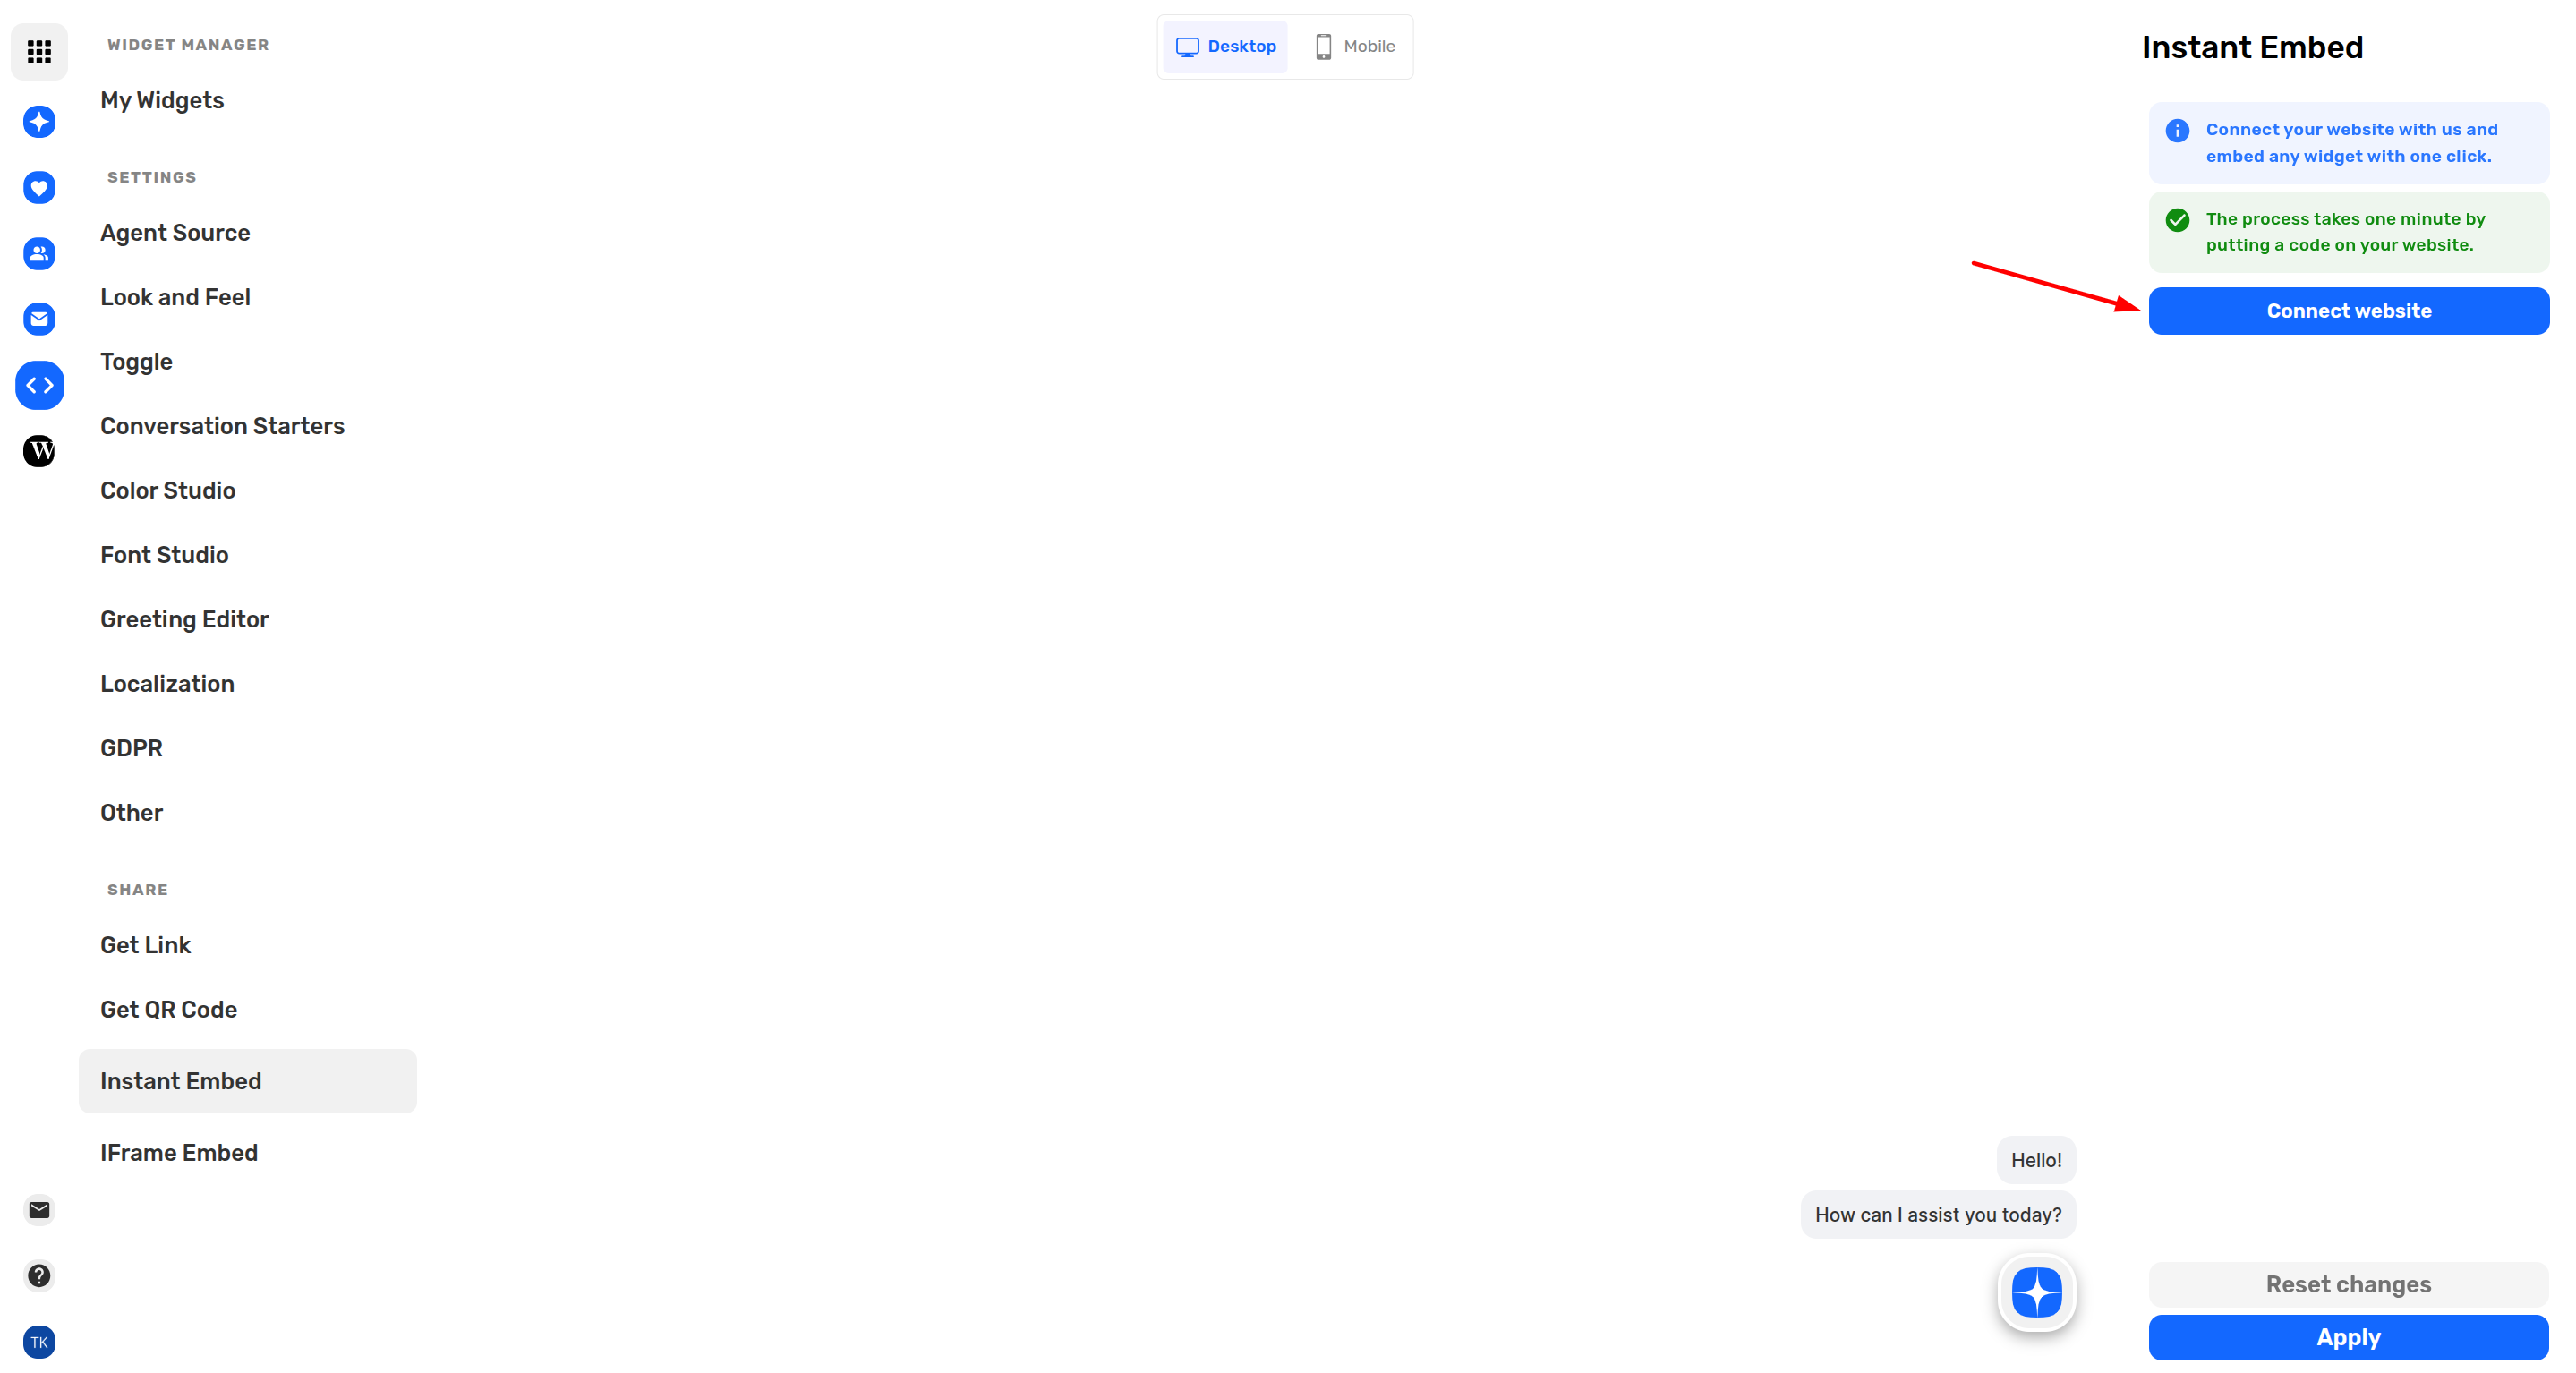
When you click connect a website you get a modal where you're asked to connect your website:

Connect a Website

Insert your website below without https and any other special characters.

www.example.com â„šī¸ If your website works with www then make sure you include it here too.

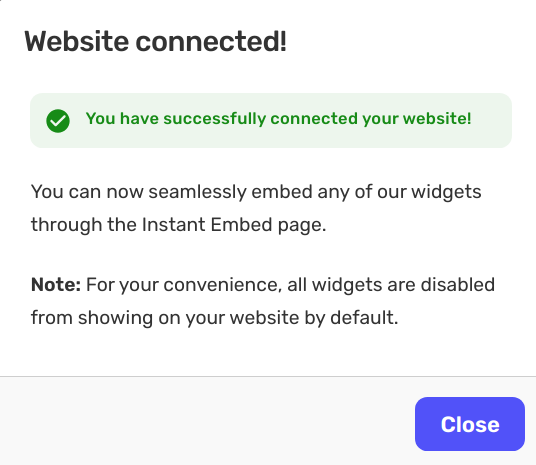
Once you click continue an embed code will be generated for you. Copy this script snippet to your clipboard.

2. Add Code using Elementor Custom Code

If you use Elementor Pro, you can skip third-party plugins entirely and inject the code snippet directly from the native layout dashboard settings.

  1. Log into your WordPress Dashboard.
  2. Navigate to Elementor → Custom Code in the left-hand sidebar menu.
  3. Click the Add New button at the top of the interface.
  4. Give your custom block a descriptive title (e.g., "Answerly Widget").
  5. Set the Location parameter dropdown menu to or (both configurations offer crisp, optimized site speeds).
  6. Paste your copied Answerly script snippet code directly into the large code editor text canvas box field.
  7. Click Publish.
  8. A modal window asking for visibility settings will pop up. Choose Entire Site as your display condition rule layout, and click Save & Close.

3. Verify the Connection

Once the code is added to Elementor, we need to establish the connection between your site and Answerly.

  1. Open your live Elementor landing page or domain layout in a new browser tab.
  2. Refresh the page a few times, this triggers the script and alerts our system.
  3. Head back to the Answerly website dashboard.

Your dashboard status will update to show that your website is successfully Verified.


4. Set Your Display Conditions

Now that the handshake is complete, you can control exactly where your AI agent appears. In your Answerly dashboard settings, choose whether you want to show your agent across all pages, or set specific path conditions to match your preference.


Need any help?

That's it! Your AI teammate should now be live on your Elementor page templates, matching your visual presentation flawlessly. If you run into any issues during the setup or the verification step won't greenlight, don't worry. Just reach out to hi@answerly.io, and our team will help you configure it in real-time.

Go to Dashboard →