Getting Started
Creating an Agent

Hey there 👋,
Let's get started with creating an agent on Answerly!
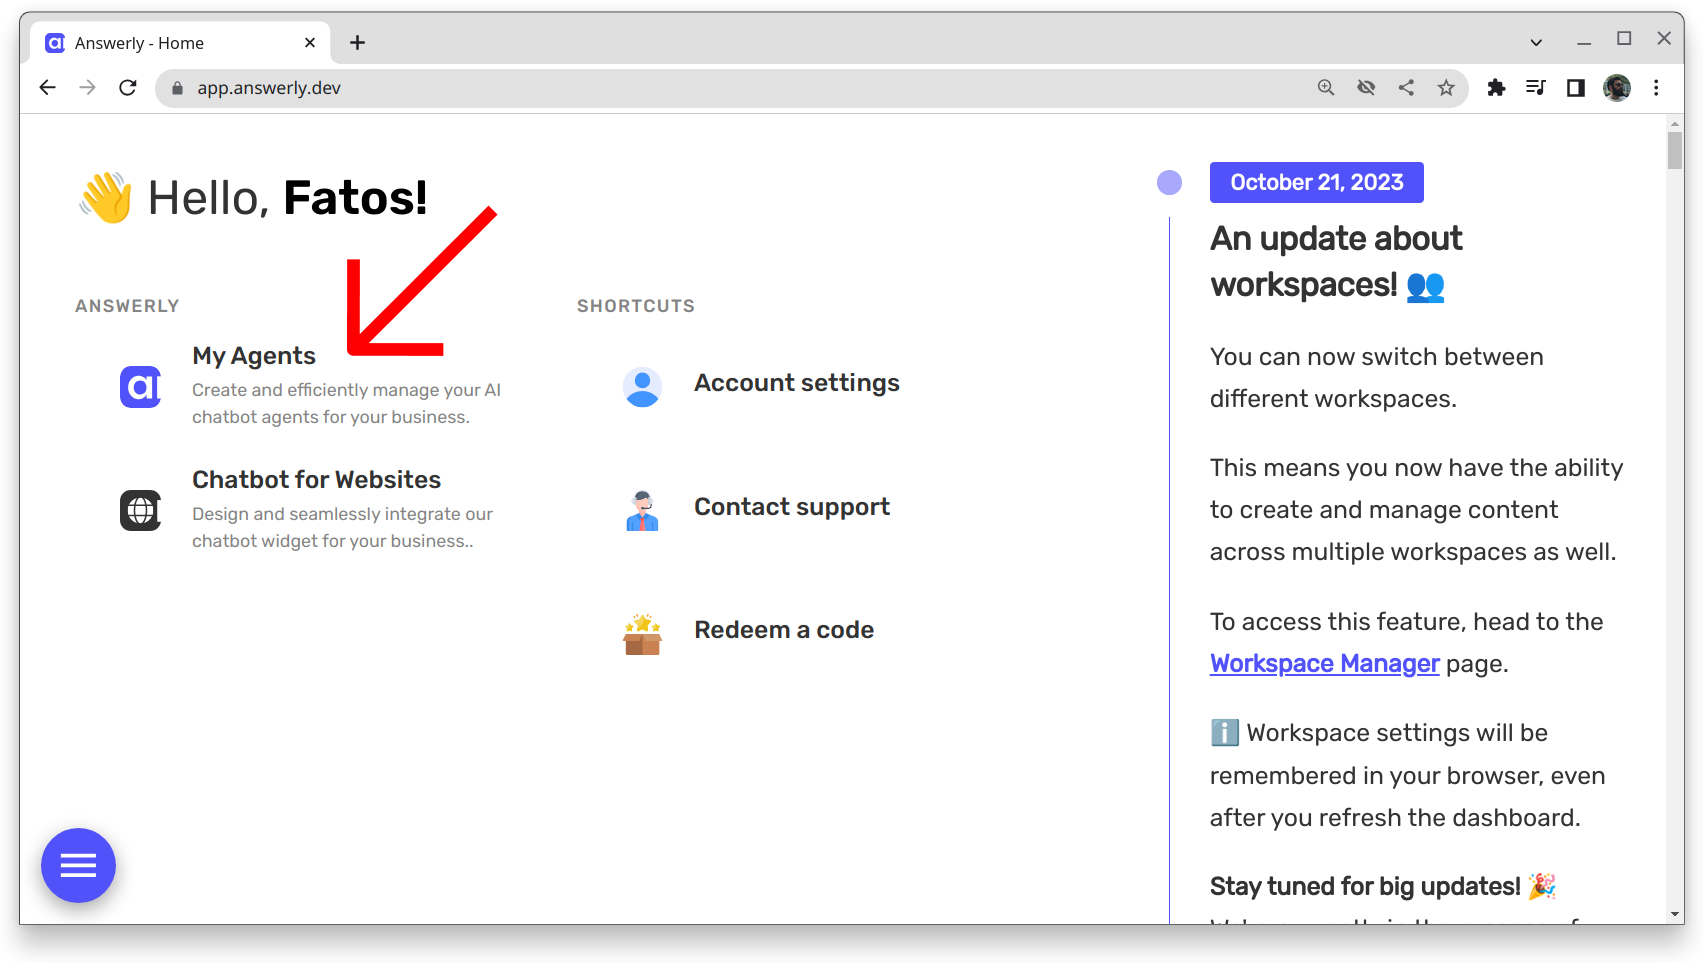
Once you are in the Answerly dashboard, you can see a section named My Agents.
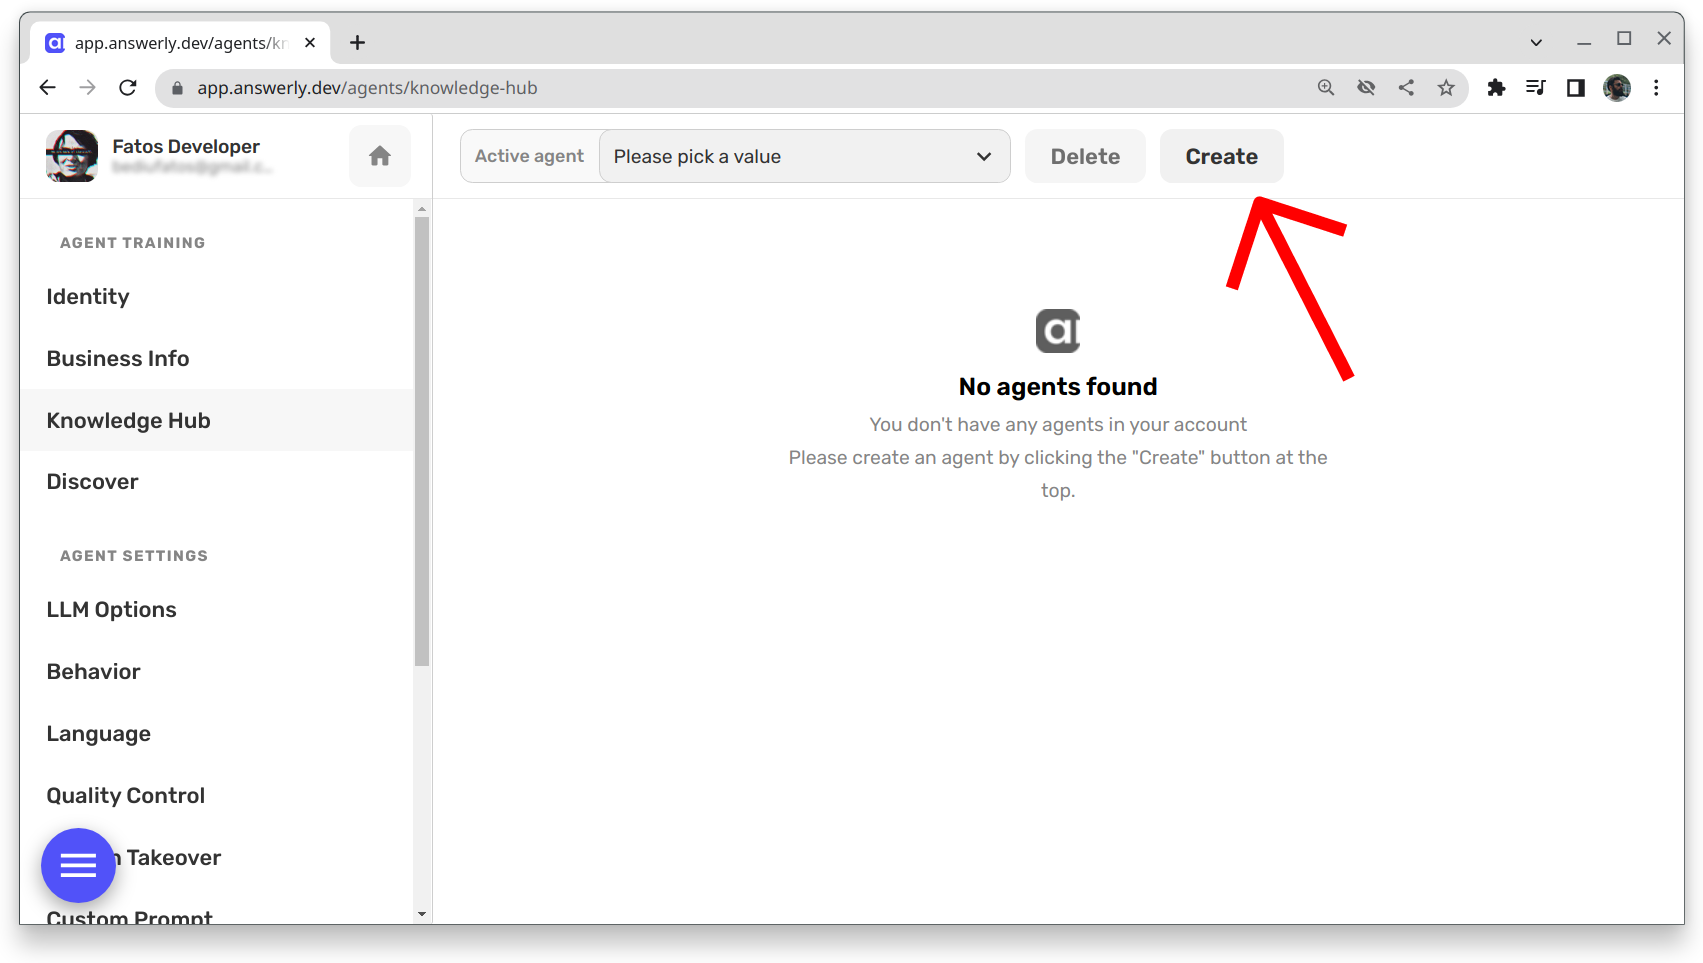
It's pretty straightforward from here, you simply need to locate and click the Create button at the top of your screen.
After you've clicked Create button a new window will pop up, asking for your agent's name:
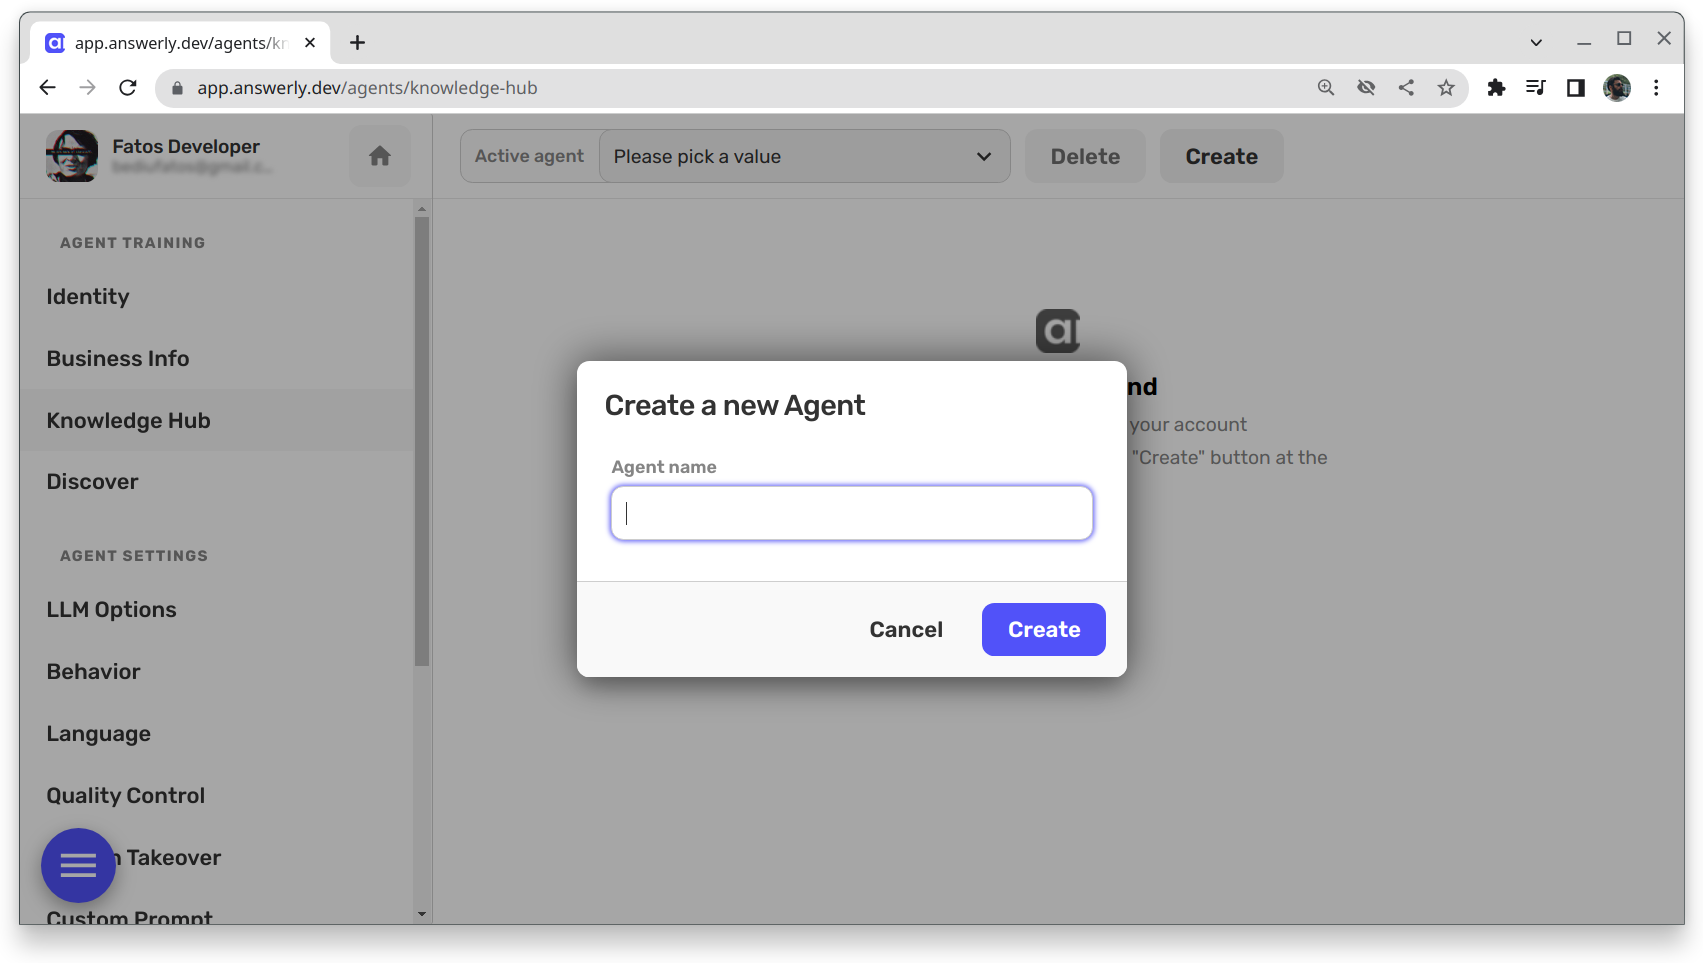
Click on Create again and voila! Your new agent will be activated in your workspace.
Now, your new agent is ready to learn about your business and start interacting with your web visitors.
But remember, it's just a newborn, and like any newborn, it needs to be taught. You will need to train your agent using our Knowledge Hub. But more on that later.
That's it, you've just created your first agent! Happy training! 🎉🎉